Hi guys!! This week group member Tracy has taken the time to share a page about art collage. Tracy is an experienced journaller but dont be put off she has broken it all down to really manageable steps that we can all follow - so show your support and give it a whirl.....So over to Tracy....
This week is a very Teesha Moore inspired collage page.
This week is a very Teesha Moore inspired collage page.
(you can insert the final image if you want)
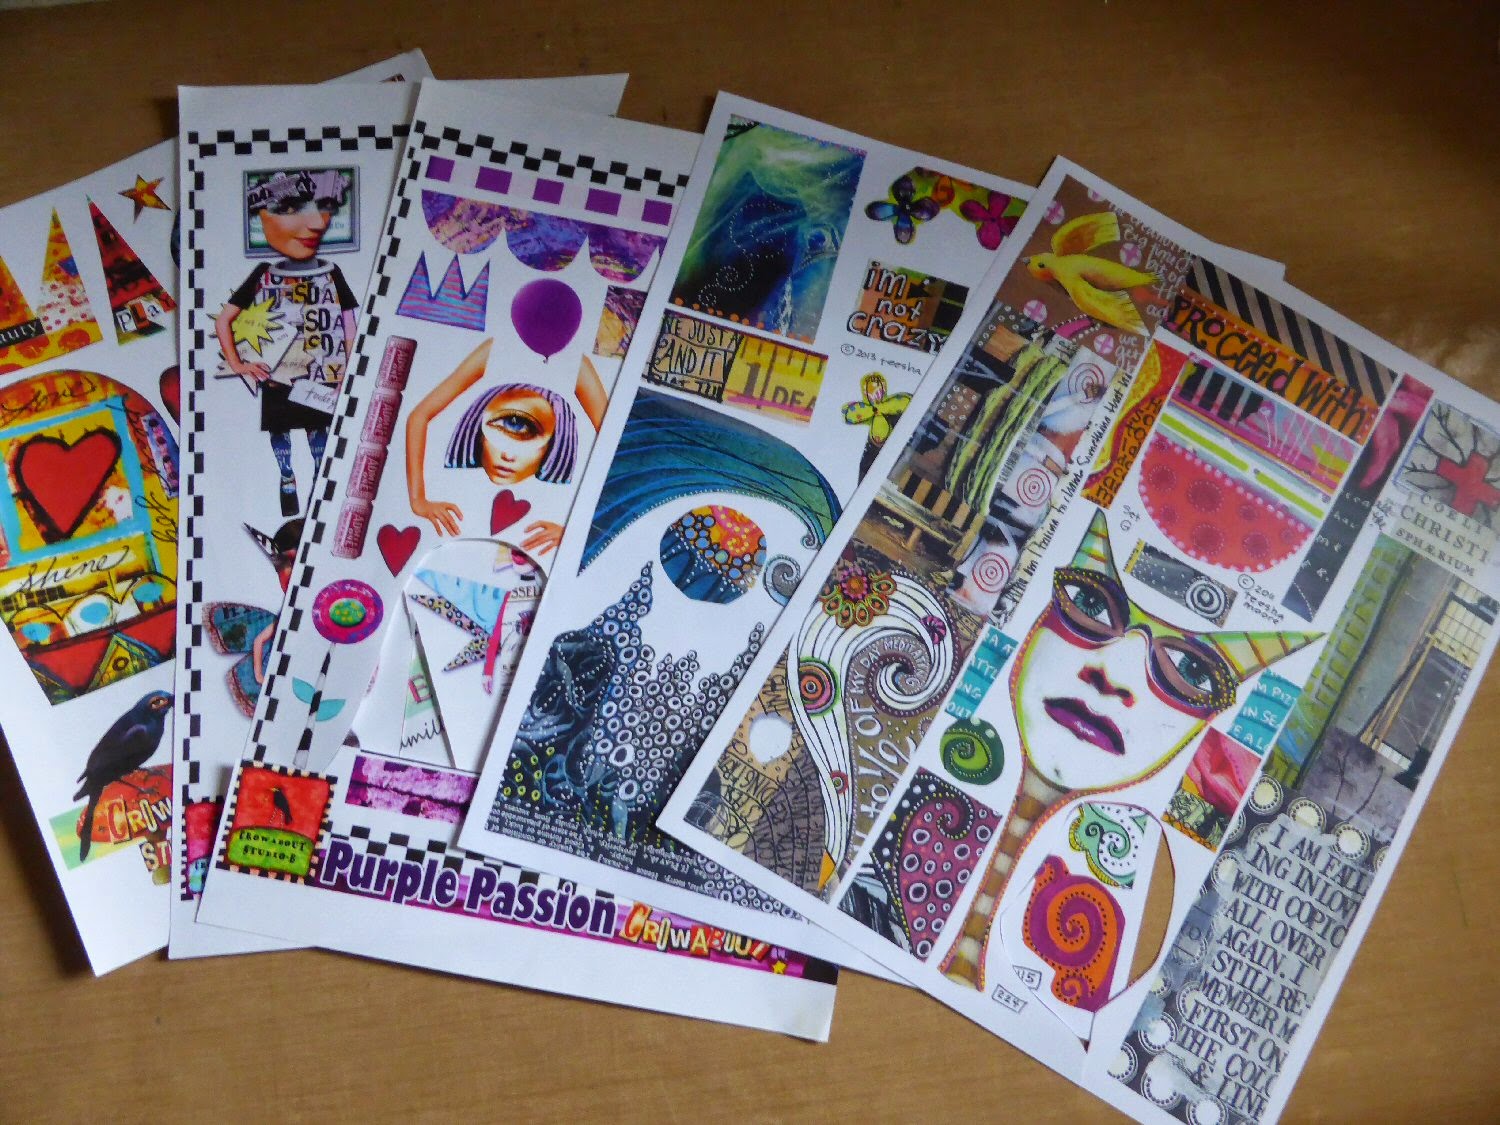
A key element in this style of journaling is collage. I prefer to use ‘download’ collage, which is available from various sources, and as the name suggests you download it for a small fee and can then print again and again.
I especially love the content on Mischief Circus and Teesha Moore collage sheets available on Etsy.
http://www.mischiefcircus.com/shop/
Ok lets get started. First of all add some colour to a page. Any acrylic paint is fine, apply it all over with a wet brush and immediately blot with kitchen roll. You just want the paint to be a thin covering and not have any grooves or paint brush marks in it as this will affect your pen work later. Also you don’t want the page to get too wet or it might wrinkle which again will not help later.
Here is an example of some pages I have prepared.
Then you can start collaging. The key here is to keep the collage dry – I stick all mine to the page using a tape runner pen. Be very careful with wet glue because any ‘seepage’ out the sides of the collage will act as a resist to your pen and pencil later.
Cut out interesting shapes and patterns to place around the border, with interesting pieces on the corners, and find a focal image for the centre of the page. You might want to use a different ‘body’ and a different ‘head’ and maybe put a funny hat on the character. Its not supposed to look ‘real’, its supposed to be a bit abstract and quirky.
Here is where I have got to so far with my page; I have mostly used Teesha Moore download collage images to create this page.
Next you want to add depth and dimension to the page. You could use various mediums to add shadow such as pan pastels and gelatos, but I usually use my Prismacolor colouring pencils. You can use a couple of colours but on this page I just stuck with one colour everywhere. Go darker with the colour in the crevices to create depth.
When you are happy with this first layer, think about adding paint pens and gel pens. In this page I have picked out the detail in the border and extended the flowers using a couple of colours. Think about a colour that you want to be the ‘value’ colour and emphasise that colour. Also evenly distribute your doodles – so if you have something in the bottom corner, put something in the top corner for example.
Build up these layers of doodling and colour – try using a white pen to add extra sketchy lines or dots, or use a black pen to outline things.
When you are happy you can then think about the writing. I always pencil where I want to do my writing before I commit with pen. I like using quotes on these pages.
Now I am happy with the pencil, I am putting in the writing using a black posca paint pen.
Finally, go back over your page. Add more shading, add more paint pen and gel pens, and as a final touch add a shadow line to your writing. Its subtle but adds a lot more depth.
Thank you so much Tracy for your really detailled guide to simplifying the collage technique! I hope this has inspired you all to give it a go. Have a look on you tube and pinterest at Art Collage/ Art Journal Collage and see what you can create!!
Happy Journalling and Crafty cheers for now
Love
Rae
xx
x


wow this looks awesome! love it. will certainly have a go xx
ReplyDeleteOh wow Tracy this is fabulous. I too will definitely be having a go xxx
ReplyDeleteWhat a lovely picture love it xx
ReplyDeleteLove the page and the tutorial is brilliant, thank you so much, can't wait to have a go x
ReplyDeleteLoving the work Tracy. I have never done anything like this, but I am willing to give it a go x
DeleteFabulous page Tracy xx
ReplyDeleteGreat tutorial
ReplyDeleteGreat tutorial x
ReplyDelete