Total Pageviews

Thursday 29 January 2015

Write on it - Journal HeART 15 Week 5

Howdo!! Thursday is here again already!!

So how are you all getting on with your journals?? Certainly seems like you are enjoying the new challange??

So now comes the point you all hate me lol - there's been lots of chatter in our group this week so I decided to use your converstaions as this weeks page....


.....You have probably already guessed...this week you are going to get writing!!! now I know this is a really daunting challenge to a lot of you but remember - You have already cracked drawing/doodling. There are lots of tips online and hundreds of books so you have full permission to lose a day or three in research ;-) lol

Take yourself back to basics and remember one of the most important things with lettering is to TAKE YOUR TIME. Enjoy it.


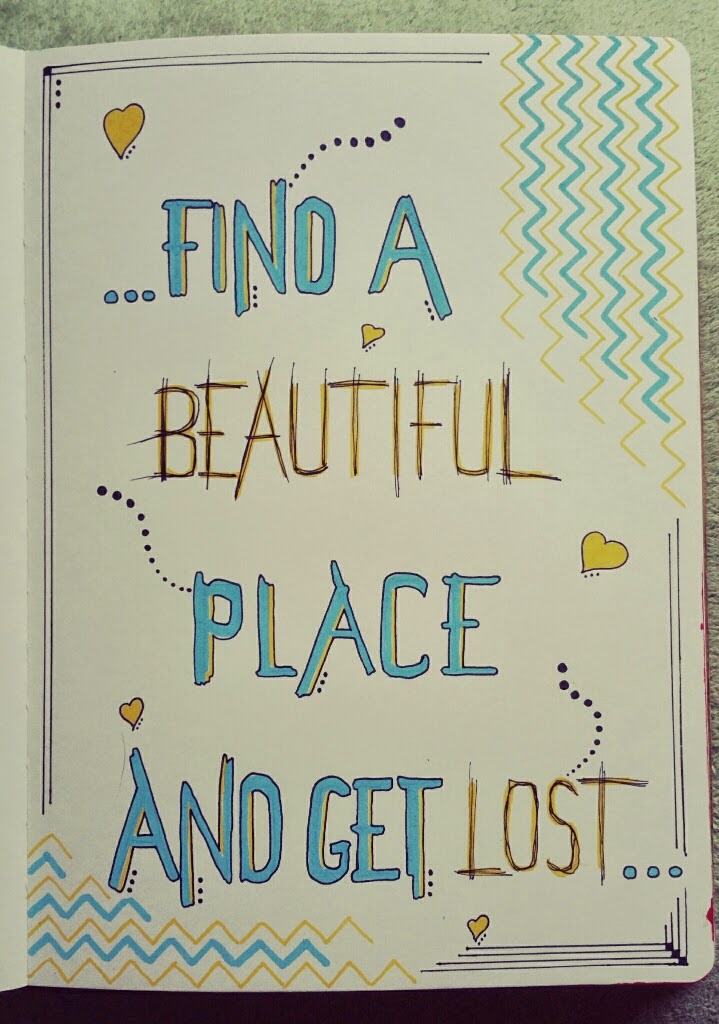
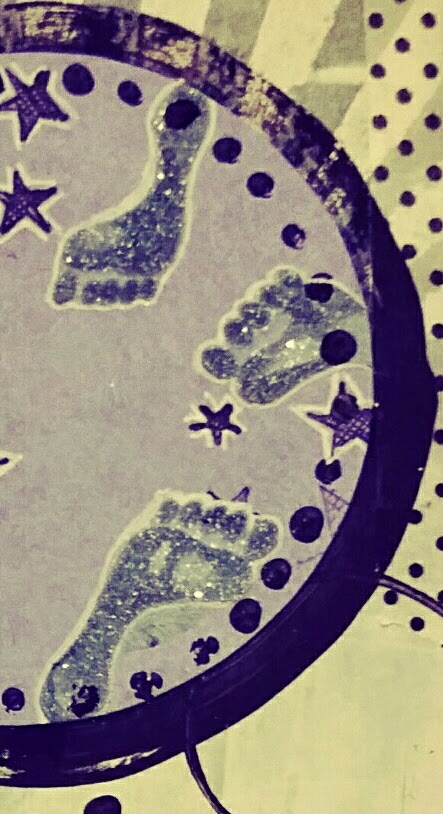
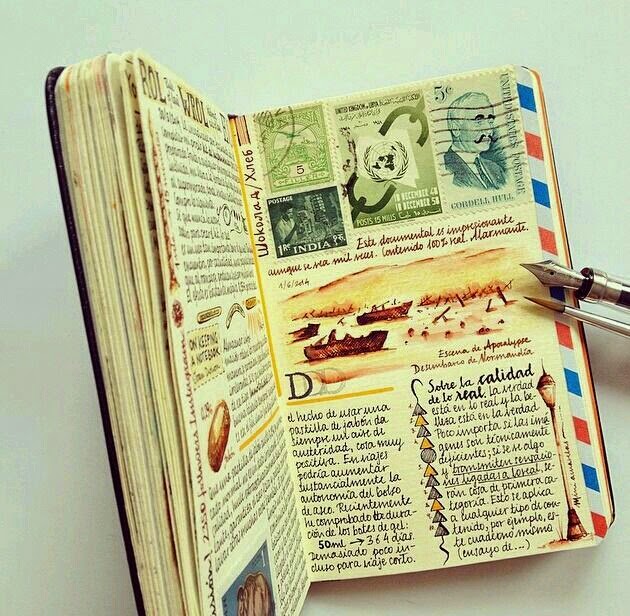
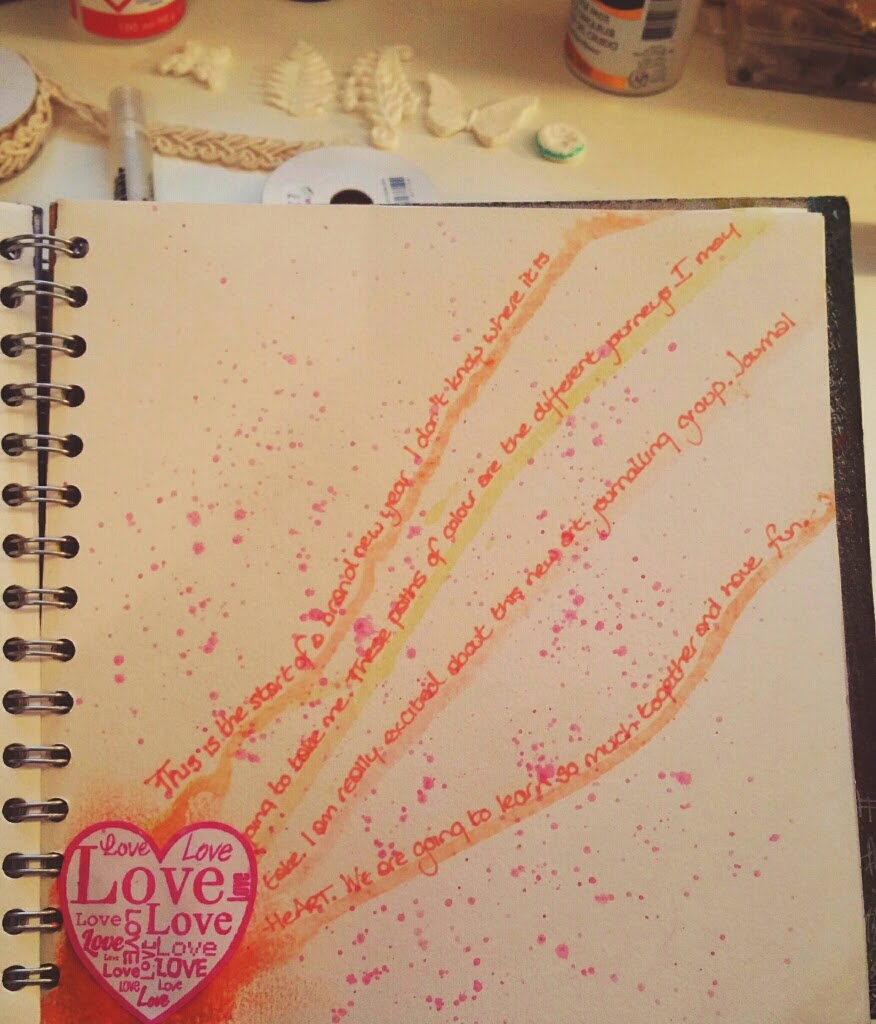
So this is my page - I chose to make the writing the focal point of my page but you can obviously write on one of your coloured pages too. I created this page using different widths of Posca coloured pens ( http://www.posca.com/uk ) and a black micron pen, however try your alcohol markers, your paints with a brush, pencils, crayons, gelatos, biro, fountain pen - anything you can think of. There are tonnes of markers on the market and they all do different/same things. Start with what you already have and then explore more.

On my page I initially sketched out lines in pencil to write my letters between.....remember like we did when we learned to write at primary school?? Then I lightly marked out the letters in pencil before working over them in the various inks - it takes an awful lot of the scariness out! Once I was happy I then erased the pencil lines before finishing decorating the page.

So off we go.....this week's Prompt!

PICK A WORD/PHRASE and add it to a page in an arty style. If you want why not try creating a writing sampler page with lots of different styles so you can see which suits you be it bold and curvy or light and angular.

Can't wait to see what you all come up with this week - You really have created some awesome pages so far this year guys. You are a real source of inspiration!!

Happy journalling

Crafty cheers for now 

Love

Rae

xxx

Thursday 22 January 2015

St Dwynwen - Journal HeART week 4

Today is Week 4 of Journal HeART - I really am blown away by the response we have had so far.
You are all amazing Thank You!

So today one of our group Catherine has stepped upto the plate and created this week's page using the following prompt

Nothing wins hearts like cheerfulness


This is a quote from St. Dwynwen She is the Welsh patron saint of lovers, making her the Welsh equivalent of St. Valentine. Her feast day is January 25th so I thought this would be a bit of fun but I don't want pages just on love - I'd like to see cheerful happy pages :-) esp with the weather as uncheerful as it can be just now LOL

Here is Catherine's page :-) and I totes love it - hope you do to!!


1. Firstly I covered the page with gesso, then added some torn strips of tissue paper.  This is a slightly glossy tissue paper I got from Paperchase some time ago... Can't resist a pretty tissue paper! I use Mod Podge to stick everything down just in case peeps were wondering. 
2. Scraped some very page peachy pink acrylic paint over the page.  This showed some of the texture off with the little bumps and folds in the tissue paper.  
3. Used a baby wipe to take off some of the pink where the flowers were on the tissue paper.  Decided I didn't like the pink so much after all... Change of direction coming up! 
4. Added a doily cut up to the two different sides of the page.  Then stamped in Stayzon the brick stamps from the Paperartsy Eclectica Darcy stamp set.


 5. Decided to create a paper doll girl holding a heart.  Sketched her roughly on book print (Charlie and the Chocolate factory is the old book I am currently using for my art work at the moment). Then took a flowery part of the tissue paper and created a dress.  Cut the doll so that the dress out fit behind the arms and heart.
6. Meanwhile scraped white acrylic over the page... This got rid of the pink I decided I didn't like. It also helped blend the layers of stamping and the doilies into the page.  I again. Rubbed away some of the paint where the flowers were.
7. Decided that yellow said "cheerfulness" to me.  If you google images for the word cheerfulness you get a lot of yellow smileys and daffodils for some reason... So yellow works for me! Also not a colour I would ordinarily plump for so made for a nice change.  I graduated the intensity of the colour with more to the right than the left.  I started with some bubble wrap printing too... But then ended up covering that up. 


Next few steps I forgot to take pictures of!  I stamped on some separate paper the big flower from Paperartsy Eclectica Darcy... I LOVE this stamp and use it a lot! I coloured it using Inktense blocks and water to blend and then cut it out and stuck it onto the page.  
I stamped a lot of hearts, more of the Paperartsy Eclectica Darcy stamps, this time inking them up with Inktense blocks, spritzing them and then stamping them.  I used a mixture of red and orange to get a nice blended watery look.  I then cut them out and stuck them down on the right hand side in an overlapping line.
I used Spectrum Noir pencils to add some colour to the girls skin and start her hair off. Then stuck her down.

8. Think this is where I was upto when I took the next photo! Oh hang on... Added some Champagne stickles to the heart in the girls hands.


Time to outline things... The girl and the hearts got some outlining.  I added more colour to the girls hair using inktense.  This kept some translucence but added more depth.  Also added some details using a white pen but it didn't work that well if I am honest. I kept adding more dark grey inktense with my watery paintbrush around the hearts too as I wanted them to pop a bit more, and for the yellow to look a little more earthy, not as stark.

Finishing touches.  Added some bubble wrap printing with the yellow paint.  Added more outlining with the Faber Castell Big Brush pen in warm grey.  Stamped the quote onto strips using mini alpha peg stamps (DoCrafts ones I think) I outlined each strip with inktense and then stuck it down and added more outline with the Big Brush pen.  Added a little more colour to the flowers with an orange Big Brush pen.  Then a border of washi tape next to the binding to give it some strength.  Done!  Loved creating this page... Infact it did make me more cheerful... Jobs a good'un! 

Huge Thank you Catherine for stepping up to the plate with our 1st group page!! If you'd like to have a look at more of Catherine's work here is a link to her BLOG

This is a great example of a collage page - but please dont be overawed if you are new to journalling - maybe just try a couple of the techniques together on your page this week :-) This style is def one of my fave styles

So happy journalling and Happy St Dwynwen's day!!

Crafty Cheers for now

Love

Rae

xxx


Thursday 15 January 2015

Spotlight on Gesso.......Journal HeART week 3

Hi Journallers!! Welcome to week 3!!

At the group's request today I am starting to cover the product basics that we see banded around Art Journalling. 

We will be taking a look at Gesso and some of it's uses. This will be a far from comprehensive list - there just isnt the time to go into it all in detail here :-)

For me personally it is one of my "go to" products I use it on a large percentage of my work in one form or another. So I do reccomend it as part of your kit. Get the highest quality your budget allows.....or if you want have a go at making it. There are lots of products on the internet. 

This is today's page using different ways with and different types of gesso...


There are different types of gesso available to professional and mixed media artists as well as art journallists and crafters. We are mostly familliar with modern acrylic gesso, which is used for the priming and sizing  (altering the absorption/wear/behaviour) of our substrate (paper/card/wood/mdf etc) which we use to our advantage in AJ. There is a difference between modern acrylic gesso and traditional artists gesso that mean it is not suitable for some classic art techniques.

Mainly we see white/off white gesso but it also comes in clear, black and coloured forms.

The main use of gesso is to act as a primer/key on our pages - it stops products soaking through and means a more economic use of things like sprays and paints etc...and this is where we can start to play....If your journal pages are not of the highest quality then gesso can help improve them for some of the more robust techniques out there

....we can use it as a resist.....


Here I popped it through a stencil before using distress stains on top (you can also stamp in gesso to create a resist - just make sure to wash stamps immediately)

You can also use gesso to add some texture on top of pages too....


I added my ink to my page and then I took some white gesso an scraped it over parts of the page with an old credit card making sure that I dug the edge in to add the texture...

I also stamped and painted with some black gesso....


The circles were created using the inner tube from a kitchen roll and the outside of the moon was simply painted - I really like letting your brush run out of product to create the "broken" look it can add so much interest to a page. 

This project was completed at a Finnabair class - but it shows the difference between using black and white gesso on a project


....of course you may not want a white or black gesso base......you may want a coloured base. Now personally I dont buy coloured base - you can tint your gesso with paints, inks (care needed to not add to much and thin out your gesso) brushos, pigments and a whole host of other products - go play and find out...:-) I've tinted black gesso with irridescent products too in order to get a shimmer base. Here I tinited with brushos popped through it a stencil and then sprinkled with some glitter to create the footprints...


Clear gesso I didnt use here but I use it to coat photos in journal and scrap layouts so I can add stamping/colour over them I also use it through stencils as a resist when I want to see a colour underneath.

Also gesso can be thinned down by adding water to achieve a whitewashed look on a page or to "knock back" a page thats got a wee bit too bright or dark :-)

So this weeks prompt is the title on this page...

WHY THEY SAY THE SKY'S THE LIMIT, WHEN I'VE SEEN FOOTPRINTS ON THE MOON......

If you have gesso by all means create a page using it, if not do a little online research and create a page with the prompt....for those coming to class this weekend we will be going over this again.

Hope this has answered a couple of your questions...

Happy Journalling

Crafty cheers for now

Love

Rae

xxxa


Thursday 8 January 2015

Journal HeART 15 -Week 2 Bleeding tissue technique

Welcome to week 2 of our Art Journal venture!!

What a fabulous start last week - all your pages were fantastic! Thank you for joining in!

Today its all about using journals to practice and recreate techniques that you like and want to use.

I have seen the bleeding tissue technique around the internet and pinterest and really fancied but only had one small problem - I didnt have the necessary product........so........lightbulb moment and here is this weeks Prompt...

Birds with clipped wings can still Sing...

Just because you havent got something doesnt mean you cant DO.....

So What is the bleeding tissue technique???

It is basically using specialist coloured tissue paper cut and placed onto wet paper/cardstock to create funky background patterns and designs for your journals and card making....

So as I hadn't got any I set about thinking what I could use......out came the kitchen towel and spray inks......I started out with Dylusions sprays as I wanted the really vibrant colours. For this I recommend using plain white kitchen towel rather than patterned for this incase you get unwanted patterns (though that would be quite fun if they were to bleed too!!)

Now the REALLY complex bit......seperate your kitchen towel into single ply sheets and then simply spray your chosen colours onto them before setting aside to dry completely. I batch made sheets of all my dylusions colours and also did some combi sheets......just coz I could :-)


Then it is simply a case ot cutting the tissue up and laying it onto wet pages/card/watercolour paper/ mdf ( I used ungessoed ) leaving it a short while (you can spritz some more water over at this stage if the colour is not transfering enough) before peeling it off to reveal your design.

Let it dry and then stamp/diecut as you wish - I find it cool and very funky.


As for die cutting - you need to cut several layers of tissue together as it is relatively fragile and I suggest using only cutting dies with blades. Like Sizzix and Tim Holtz dies.

Then you can get creative with your layouts.....


...and the finished page...


I also stamped an image in archival ink onto a journal page and then stamped onto the coloured tissue and cut out then laid it over and spritzed to see how this "coloured" images....


For this image I chose to try Oak House Studio Colour Chemistry Spray inks for a more subtle look......


.....the page was finished with simple stamping and tearing (I love tearing parts of pages away to reveal the, in this case black, page behind) and lyrics from one of my new songs.

As a note I did also try tattered Angels sprays .... they were a wee bit too subtle for me having looked initially promising...


So this weeks challenge is to either try this and then create a page with birds/song/both or have a think about a technique you'd like to try but maybe can't because you are missing a key part. Try a little lateral thinking and see if you can make a technique your own way!! 

Happy journalling and Crafty cheers for now!!

Love

Rae

xxx

Thursday 1 January 2015

Welcome to Journal HeART 15

Hi guys!!

(Apologies in advance this post has a lot of writing as there's much to talk about for our new jolly!)


Welcome to week 1 of our exciting new venture into Art Journalling.
I hope to make this group appealling to every level of art journallist, beginner - experienced. Everyone counts! The aim is that we share prompts, techniques, ideas and styles to inspire every week through 2015, we will support each other, learn together and hopefully have a WHOLE loadda fun! 
I will also be running art journalling classes along the way to supplement what we do here. Hope you can join me in real life!!


(background journal page from my 1st journal 2013)


So what is art journalling? A million $ question - 'n' one there is no single answer too!!

It's anything you want it to be. It can be a diary augmented with pictures and colour, it can be a record of a holiday/event/occassion. Sometimes its a sketchbook to learn how to draw or one to practice interesting or new techniques in, while it may also be a really private personal place where you try and explain/release thoughts and feelings to yourself. At the end of the day - its yours - you dont have to show/share - Make it what you WANT it to be!!! There's no right/wrongs.

Me personally - it's an art diary ( or several in my case for diff things) It may/may not have words - shock horror it may not have art - it may just be colour lol! That's the beauty of journals they are all individual.


(photo courtesey of www.seaweedkisses.blogspot.de)


So second question......and a biggy!! What can I use as a journal? Simplez - absolutamente ANYTHIN' !!!


You can buy a purposely designed book, ring bound or spined, with diff types of paper to suit. Go with the best your budget allows - when you know you are happy with AJ you can experiment more. Old books/dicionaries/diaries can also be converted and we will cover that over the coming weeks :-) 


What I will say is that if you are a newbie get yourself a book you are comfy with - you do NOT want to be afraid of it so maybe dont start with a super duper expensive one. You cannot be afraid of actually putting pen, pencil or paint and ink. I still have one of Dyan's large journals that I am afraid of ruining!!!


Having said all that about books though - you dont even need a book to start!! He he dont you like the fact that rules can be broken so easily lol. :-) You can simply start with a piece of paper and create a page and then when you have several you can fix them together into a handmade book. We will cover that later in the year :-)


So now I have bored you senseless I hope you will stick around for the journey.


This week I just want everyone to have a little look at art journal pages on line (Beware you will loose DAYS on Pinterest :-) !!!! ) and if you get chance create a little page about the no 1/the first time/ the start/ new challenge.


Doesnt need to be complicated - just a sentiment on a page or a number and a bit of ink or paint.....


(Love the new - Journal page for Journal HeART 01/01/15)
This page was made using gelatos - I see the runoffs as the different paths 2015 may take and I used bright hot colours to reflect excitement


(Pinch Punch 1st of the month - 01/01/15) 

This was just a page of acrylic paint and stencil clean of (wiping brushes and dabbing off excess sprays of stencils) I made my own no 1 stencil and applied white acrylic paint through it and then doodled and wrote in 6B pencil - If you do choose to write in journals - it doesnt have to be legible just jot down quickly

So they you have it we have lift off!! Happy journalling and I look forward to seeing your pages over the next week here

Crafty cheers for now

Love 

Rae

xx